Saunas 5 min read
Sauna ventilation and drying: avoiding a room that stays damp
A sauna is not finished when the timber lining looks good. Moisture has to leave the room, wet areas need suitable construction and the user needs a clear drying routine. Persistent dampness is a reason to inspect the design and operation, not simply add fragrance or leave a door open and hope.
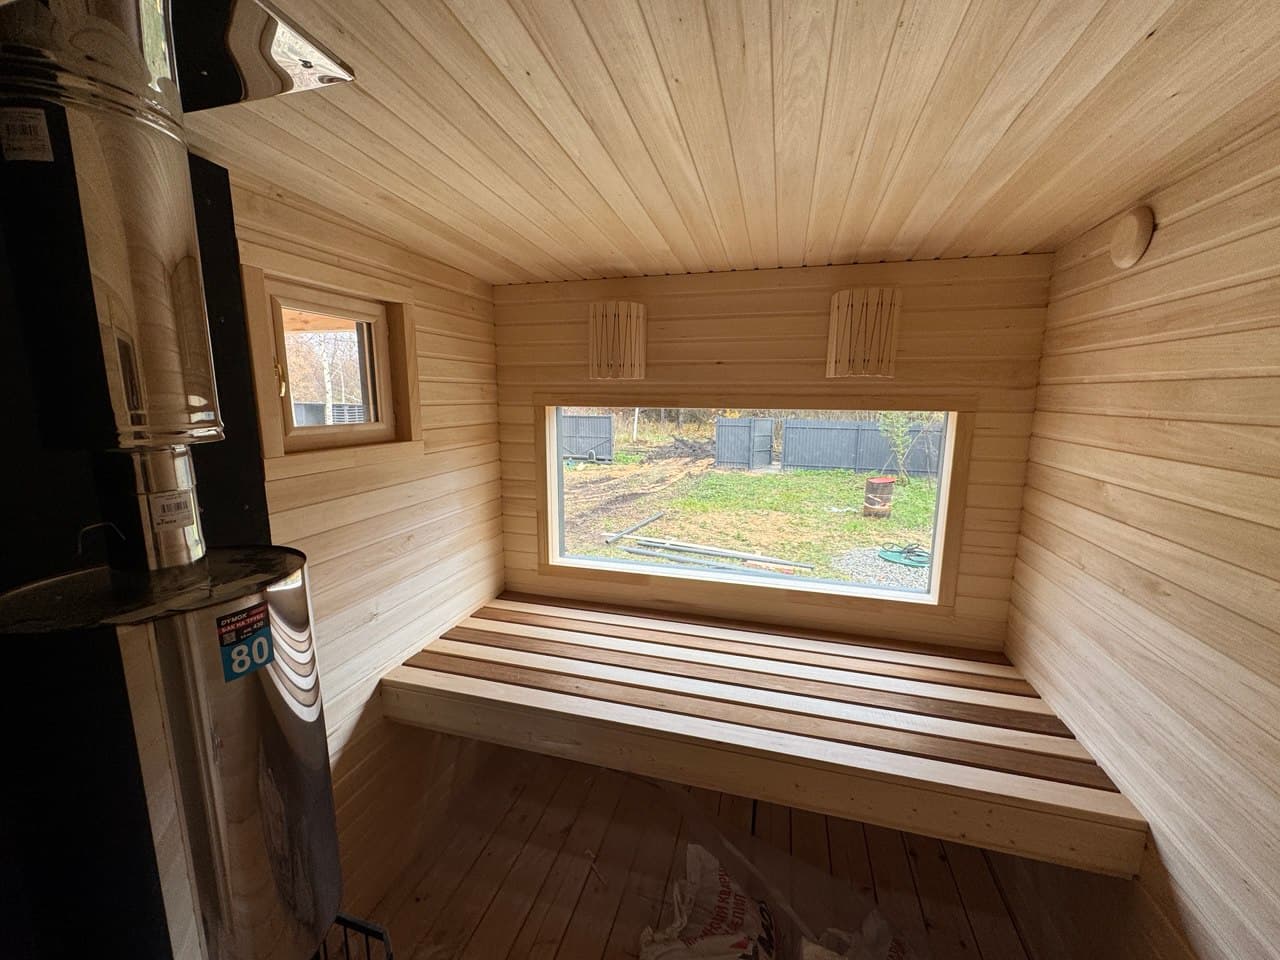
Coordinate ventilation, wet-area details and drying for the actual heater and room. Follow the equipment instructions; there is no single vent layout that can be copied safely into every sauna.
Identify where the water comes from
Separate normal moisture from a defect. Water used during a session, wet bodies, cleaning and a nearby shower all contribute differently. A leaking roof, pipe or poorly sealed junction needs repair rather than being treated as a ventilation problem.
When reporting persistent dampness, record where it appears and when: during use, after rain or the next morning. Photographs and a short operating log help the supplier distinguish possible causes. Stop using affected equipment where a leak or other fault could create an electrical or fire hazard and arrange a competent inspection.
Match ventilation to the heater and system
Air-supply and extract positions depend on whether the room uses natural or mechanical ventilation and on the heating arrangement. A wood-burning stove also needs the combustion-air provisions specified for it. Do not copy a vent diagram from a different type of sauna.
The manufacturer may set requirements concerning air inlets, temperature sensors and extraction. These relationships matter for control and comfort. Ask the designer and installer to provide one coordinated arrangement, including how air reaches and leaves the room rather than just naming the number of grilles.
Treat wet-area construction as a complete assembly
Where the design includes a shower or regularly washed floor, agree the waterproofing, drainage, junctions and suitable finishes as a system. Attractive timber or tile on top does not establish what happens to water underneath. Penetrations and transitions deserve particular attention before they are covered.
In a timber-lined sauna, the wall and ceiling assembly needs a coordinated approach to heat and moisture. Do not add layers or seal gaps without knowing their intended function. Keep access to items that require inspection, and photograph concealed details during construction for the project record.
| Observation | What to investigate |
|---|---|
| Dampness after rain, before use | Roof, external junctions and weather protection |
| Water remaining on a wet-area floor | Drainage, floor design and cleaning procedure |
| Room stays damp after a session | Airflow, drying routine and the actual moisture load |
| Moisture around a pipe or fitting | Leakage and the relevant connection or seal |
Agree a safe post-use routine
The routine should say what users do after the final session, how surfaces are cleaned and how the room is dried. Use the selected equipment's instructions, including any permitted drying mode. Do not improvise unattended heating or bypass a timer to speed things up.
Remove items that retain moisture when the operating instructions allow it, keep the designated ventilation paths clear and let surfaces dry before closing the space for a long absence. Avoid storing towels or other combustible items on or near the heater. For a guest property, assign the final inspection to a named person.
Finish
End the session using the approved shutdown procedure.
Clean
Clean accessible surfaces with suitable products and methods.
Dry
Use the specified ventilation and permitted drying procedure.
Check
Inspect the room and record defects before the next use.
Investigate changes early
A new smell, staining, loose lining or a change in drying time deserves attention. Do not conceal the symptom with a finish before finding its cause. Keep a simple record of cleaning, equipment service and any repairs; recurring patterns are easier to identify from notes than from memory.
When discussing a CHEBWOOD sauna, request the ventilation concept, wet-area scope and maintenance information alongside the room layout. At handover, ask to see the controls and accessible inspection points. Clear responsibilities are especially useful when the building, external plumbing and heater installation involve different contractors.
Checklist
- Normal moisture sources and potential leaks are distinguished.
- Ventilation suits the heater and the chosen ventilation method.
- Wet-area layers, junctions and drainage are specified together.
- Concealed work is checked before finishes cover it.
- The drying routine follows the exact equipment instructions.
- A responsible person checks the room and investigates persistent dampness.
Frequently asked questions
Is opening the door after use enough?
Not necessarily. The appropriate routine depends on the room, equipment and ventilation design. Use the specified drying procedure and investigate moisture that persists.
Can I add a fan to an existing sauna?
Have the whole ventilation arrangement checked first. Changing extraction can affect airflow, controls and, with combustion equipment, other safety requirements.
Does a smell prove there is mould?
No. A smell is a reason to investigate, not a diagnosis. Find the moisture source and have suspected material damage assessed before covering or repainting it.
A practical guide from a manufacturer. Qualified local professionals should confirm the technical and legal requirements for your particular plot and building.
Turn your plans into a project
Send us your plot location, intended use and preferred floor area. We can discuss the layout, specification and next steps.